
Baking Guides
Why Does My Bread Dough Not Rise? Causes and Solutions
Find out why bread dough is not rising by checking the yeast, temperature, dough texture, structure and proofing stage, with practical fixes.
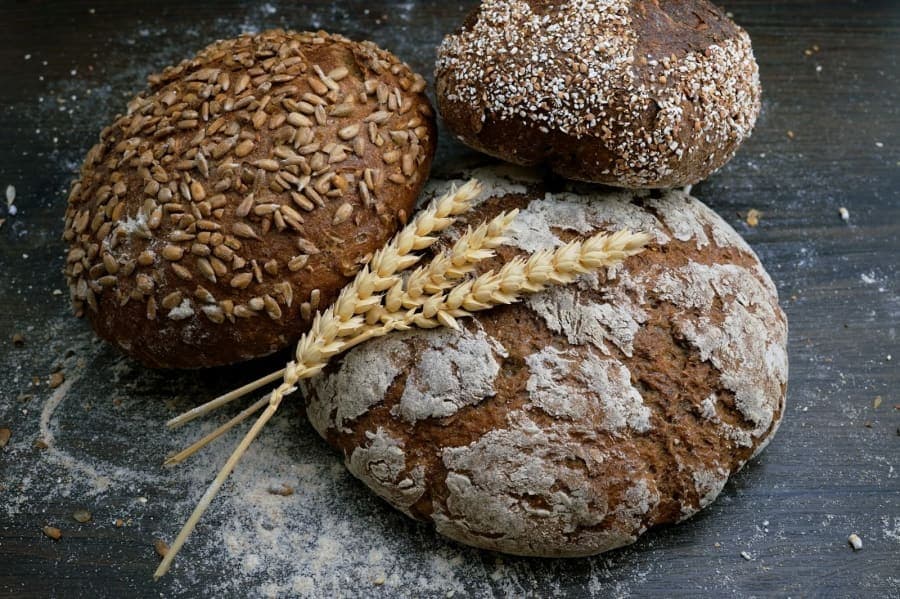
Bread dough does not always follow the timetable printed in a recipe.
A cool kitchen, cold ingredients or a rich dough containing butter, eggs or plenty of sugar can slow fermentation considerably. That does not automatically mean the yeast has failed.
Before changing anything, look at the dough.
A slight increase in volume, small bubbles, a softer surface or a noticeably lighter and more aerated feel all suggest that fermentation is happening.
A dough that is changing slowly is a very different problem from one that has shown no activity at all.
Start with what the dough is actually doing
| What you notice | What is worth checking first |
|---|---|
| No visible change or bubbles | Yeast, preparation method, ingredient measurements |
| Rising slowly but steadily | Temperature, dough type, yeast quantity |
| Rose during the first rise but barely moves after shaping | Final proof conditions and how far fermentation had already progressed |
| Rose strongly and then weakened or collapsed | Possible over-proofing or weak structure |
| Very stiff dough with little expansion | Flour and liquid balance |
| Bubbly dough that spreads instead of holding shape | Structure, hydration or proofing stage |
These are clues rather than confirmed diagnoses.
The most useful next step depends on where you are in the bread-making process.
Stage one: nothing has happened after mixing
If the dough has had a reasonable amount of time for the particular recipe and you can see no change at all, start with the basics.
Look for:
- no increase in volume
- no small gas bubbles
- no softening or puffiness
- no sign that the dough is becoming aerated
If all of those are missing, check the yeast and the recipe before assuming the dough simply needs another long wait.
Possible causes include yeast that has lost activity, using a different yeast type from the one specified, preparing it incorrectly, accidentally leaving it out, or measuring it incorrectly.
Liquid temperature can matter too.
Very hot liquid can damage baker's yeast. On the other hand, cool liquid usually slows activity rather than killing the yeast.
Do not try to solve the problem by making the dough extremely hot.
The recipe and the instructions for the particular yeast product are more useful than one universal temperature rule.
Check which yeast you are actually using
Instant dried yeast, active dry yeast and fresh yeast are not identical products.
They can differ in:
- how they are added
- how much a recipe requires
- how quickly they become active
- whether the particular product has preparation instructions before mixing
Some modern dried yeasts can be mixed directly with flour, while other products or recipes may specify a different method.
Do not replace one yeast type with the same spoonful of another simply because both are called yeast.
If the recipe specifies a particular type, check the instructions on your yeast packaging before making a substitution.
Sourdough is different again because it relies on an active starter rather than commercial baker's yeast. Starter problems need their own troubleshooting process, so this guide focuses on commercially yeasted bread.
Stage two: the dough is rising, but much more slowly than expected
Slow does not mean inactive.
If the dough has become slightly larger, softer and more aerated, the yeast is doing something.
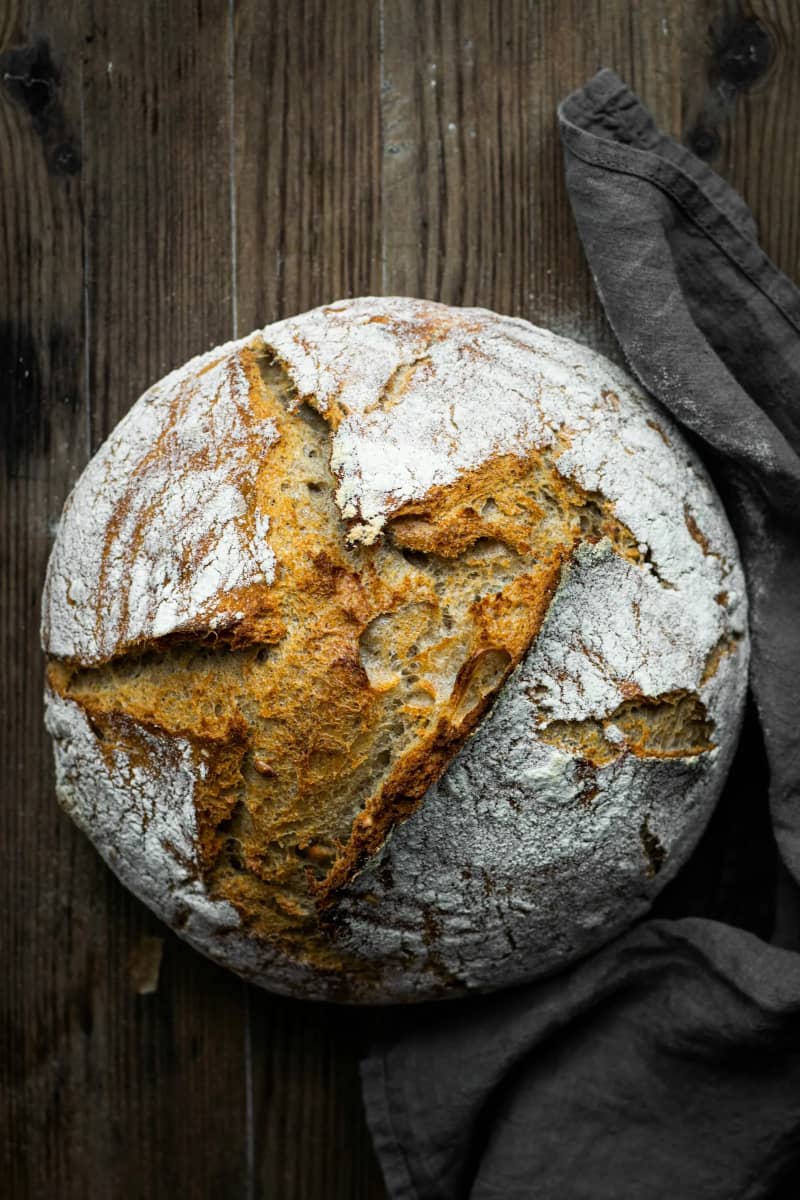
A slow rise can be caused by several ordinary things.
The kitchen is cool
Fermentation generally slows in cooler conditions.
A dough prepared on a cold morning may take longer than the same recipe in a warmer kitchen.
The ingredients started cold
Cold water, milk, eggs or other chilled ingredients can reduce the starting temperature of the dough and slow its early progress.
The recipe uses less yeast
Some bread recipes deliberately use a smaller quantity of yeast and allow more time for fermentation.
That is a method choice rather than a failure.
The dough is enriched
Doughs containing more butter, eggs or sugar often behave differently from a basic dough made mainly from flour, water, yeast and salt.
They may take longer to show the same visible expansion.
If the dough is clearly becoming puffier, follow what it is doing rather than assuming the recipe's estimated time is a deadline.
Warmer can help, but hotter is not better
Temperature has a strong effect on fermentation.
A comfortably warm, stable environment can encourage a slow dough, but forcing it with excessive heat is not a useful shortcut.
Avoid placing a bowl of dough directly on:
- a hot hob
- a radiator
- another very hot appliance surface
A steady, draught-free part of the kitchen is usually more appropriate.
If your oven has a dedicated dough-proving function, use it according to the appliance instructions rather than inventing a high temperature yourself.
The aim is to create reasonable conditions for fermentation, not to heat the dough as quickly as possible.
Salt is supposed to be in bread dough
Salt sometimes gets blamed when dough rises slowly, but ordinary bread recipes include it deliberately.
Salt contributes flavour and helps the dough develop the structure needed to hold gas. It also moderates the rate of fermentation.
That is different from saying salt simply kills yeast.
A more useful thing to check is whether the salt was measured correctly.
If substantially more salt than the recipe intended was added by mistake, fermentation can be slowed considerably.
If you used the amount specified in a reliable recipe, salt itself is unlikely to be the mystery ingredient that ruined the dough.
Adding extra sugar is not a yeast rescue
Sugar creates another common misunderstanding.
You do not need to pour extra sugar into a sluggish bread dough simply to give the yeast something to eat.
Flour itself ultimately provides fermentable sugars during bread making.
In richer doughs, a high amount of sugar can actually slow yeast activity rather than making the dough race upwards.
So if the recipe contains little or no added sugar, that does not mean the yeast has nothing to work with.
Follow the recipe instead of trying to speed fermentation by adding extra sweetness.
Check whether too much flour went into the dough
A dough can have perfectly active yeast and still struggle to expand if its flour and liquid balance has shifted too far.
This can happen when:
- flour was measured inaccurately
- large amounts were added while kneading
- the worktop was repeatedly covered with extra flour
- some of the recipe's liquid was missed
- a different flour absorbs liquid differently
A dough with too much flour may feel unusually stiff and resistant to stretching.
It may also expand more slowly.
This is not a reason to assume every firm dough is wrong. Some bread recipes intentionally produce a firmer dough.
Compare the texture with what the recipe actually describes. If you don't have kitchen scales to hand, our guide on how to measure flour without scales explains how to avoid over-scooping and keep dough hydration balanced.
Fermentation needs a structure that can hold the gas
Yeast produces carbon dioxide during fermentation, but visible rise also depends on the dough being able to retain that gas.
In many wheat breads, gluten provides much of that structure.
If the dough is producing bubbles but cannot hold them effectively, you might notice that it:
- spreads quickly
- tears easily
- loses its shaped form
- looks aerated without gaining much height
Different recipes develop structure in different ways.
Some rely on traditional kneading. Others use folding and resting. No-knead recipes use longer time and hydration differently.
There is no universal number of kneading minutes that guarantees the right dough.
Follow the method written for the bread you are making. When baking across different recipes, make sure you are using the correct unbleached strong bread flour rather than cake flour; see our guide on Plain Flour vs Self-Raising Flour: How to Substitute Them for more on flour types.
Stage three: it rose once but barely moves after shaping
After the first fermentation, bread dough is normally shaped before its final proof.
Shaping removes some of the gas already inside the dough. That is expected.
The dough then needs time to build and retain more gas during the final proof.
If the first rise looked healthy but the shaped loaf seems slow, consider:
- whether the dough cooled during shaping
- whether the room is cooler than before
- whether the recipe expects a slower final proof
- whether the first fermentation went much further than intended
- whether the shaped dough still shows gradual changes in volume and softness
Do not blame normal degassing during shaping.
Removing some gas does not kill the yeast.
A dough that fermented too far during the first stage, however, may have weakened structure by the time it reaches final proof. That can make the second stage behave differently.
Under-proofed and over-proofed dough can look like opposite versions of the same problem
When someone says a loaf "didn't rise properly", the dough may actually be under-proofed or over-proofed.
Those need different responses.
An under-proofed dough may feel:
- relatively tight
- strongly springy
- less expanded than the recipe describes
- firm across the surface
A gentle indentation may spring back quickly.
An over-proofed dough may feel:
- fragile
- very soft
- weaker than it did earlier
- more likely to spread or deflate
An indentation may remain rather than returning quickly.
The familiar finger-poke test can be useful, but it is not a perfect test for every dough.
Hydration, flour type, shaping and recipe style all influence how the surface responds.
Use the poke test alongside what you know about how much the dough has already expanded and how it has changed over time.
What if the dough rose and then collapsed?
A collapsed dough does not necessarily mean the yeast died.
In fact, strong fermentation may have happened before the collapse.
The problem may instead be that the dough could no longer retain the gas effectively.
Possible reasons include:
- fermentation going too far
- insufficient dough strength for the amount of gas produced
- a very wet dough behaving differently from the intended method
- rough handling once the dough was already extremely fragile
Look at the timing and structure before deciding that the yeast was the problem.
Can a dough that is not rising be rescued?
That depends on what the dough is actually doing.
It is active but slow
If there are signs of fermentation, continue following the recipe and judge progress by the dough rather than becoming fixed on the original clock time.
A slow dough may simply need longer.
There is no fermentation activity at all
Check:
- whether yeast was added
- whether it was the correct type
- whether its preparation instructions were followed
- whether it may have lost activity
- whether very hot liquid contacted it
- whether an ingredient measurement was badly wrong
Trying to mix extra dry yeast into an already prepared dough can give unpredictable results.
For a simple loaf where the yeast genuinely appears inactive, starting again with correctly prepared yeast may be more reliable than making several improvised changes to the same dough.
The dough appears over-proofed
What can be done depends on the bread.
Some straightforward yeasted doughs may tolerate gentle reshaping and another controlled proof, while others will not recover their intended structure fully.
Treat reshaping as recipe-dependent, not a guaranteed rescue.
Follow the dough rather than demanding an exact rise time
Proofing times in recipes are useful references.
They tell you roughly when to start looking closely.
They do not mean every dough in every kitchen will be ready at exactly the same minute.
Look for changes such as:
- greater volume
- visible fermentation bubbles
- a softer, more aerated feel
- increasing lightness in the dough
- the proofing cues described by the specific recipe
Likewise, "wait until doubled" should not be treated as a universal instruction for all bread.
Some recipes aim for a different amount of expansion.
Use the visual target given by the recipe when one is provided.
Check the problem in this order
When bread dough seems stuck, work through these questions:
-
Was the correct yeast added and prepared as required?
-
Is there any fermentation activity at all? Look for bubbles, softening and gradual expansion.
-
Could the dough simply be cold or naturally slow? Consider room temperature, chilled ingredients and whether the dough is enriched.
-
Is the flour and liquid balance close to the recipe? An unusually stiff dough may point to excess flour or missing liquid.
-
Can the dough hold the gas it is producing? Look at structure as well as fermentation.
-
Has the dough already proofed too far? A weak, fragile or collapsing dough may not need more time at all.
Bread becomes much easier to diagnose when you watch how the dough changes rather than expecting every loaf to obey one proofing time.
Useful Tools for this Guide
- Use Tool: Cups to Grams & Grams to Cups Converter
Cups to Grams & Grams to Cups Converter
Estimate ingredient weights from US, UK and metric cup measures using documented reference weights. Brands and measuring methods can change the result.
- Use Tool: Grams to Teaspoons Converter
Grams to Teaspoons Converter
Convert grams to teaspoons for flour, sugar, butter, salt, and more. Choose your ingredient for quick, accurate UK cooking and baking conversions.